
AMD Ryzen 5 3600, Asus ROG STRIX B450-F GAMING II (AM4),
16 GB RAM, 500GB SSD (MBR), Windows 10 pro
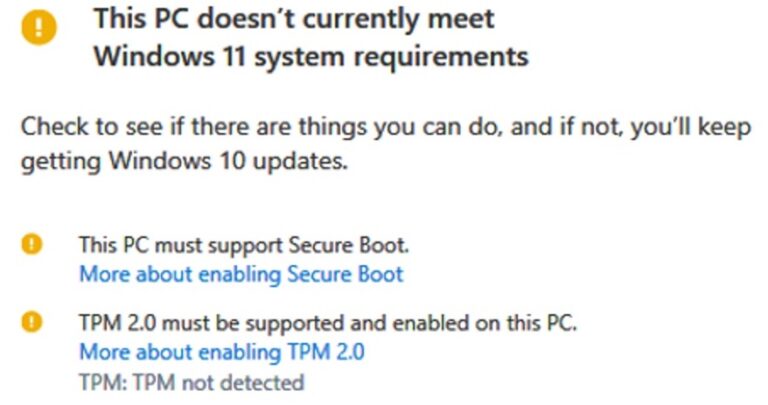
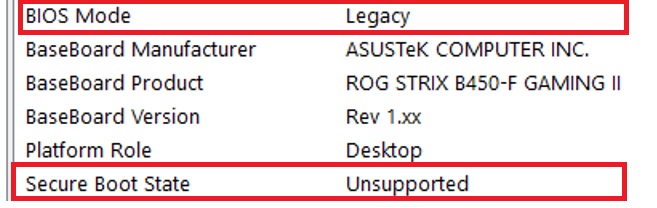
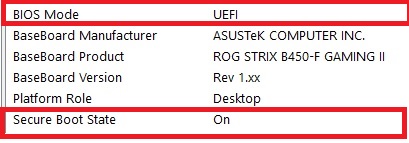
Go to System Information and here we see Secure Boot not supported due to BIOS Mode being Legacy. To enable secure boot, we first need to change BIOS Mode to UEFI. And to change to UEFI mode, our disk must be GPT.
In this case, Windows 10 pro PC was upgraded from Windows 7 pro. Also we see Windows Volume is an Master Boor Record (MBR) partition. Hence First, this partition needed to be converted to GUID Partition Table (GPT), without data loss, before we could enable UEFI mode in order to enable secure boot. For this I used Microsoft utility MBR2GPT.EXE disk conversion utility located in the Windows\System32 directory on Windows 10 computer.
Step 2: Go to Disk Management and verify Partition Style is MBR as in screenshot below. If this is already GPT then jump to step 9.
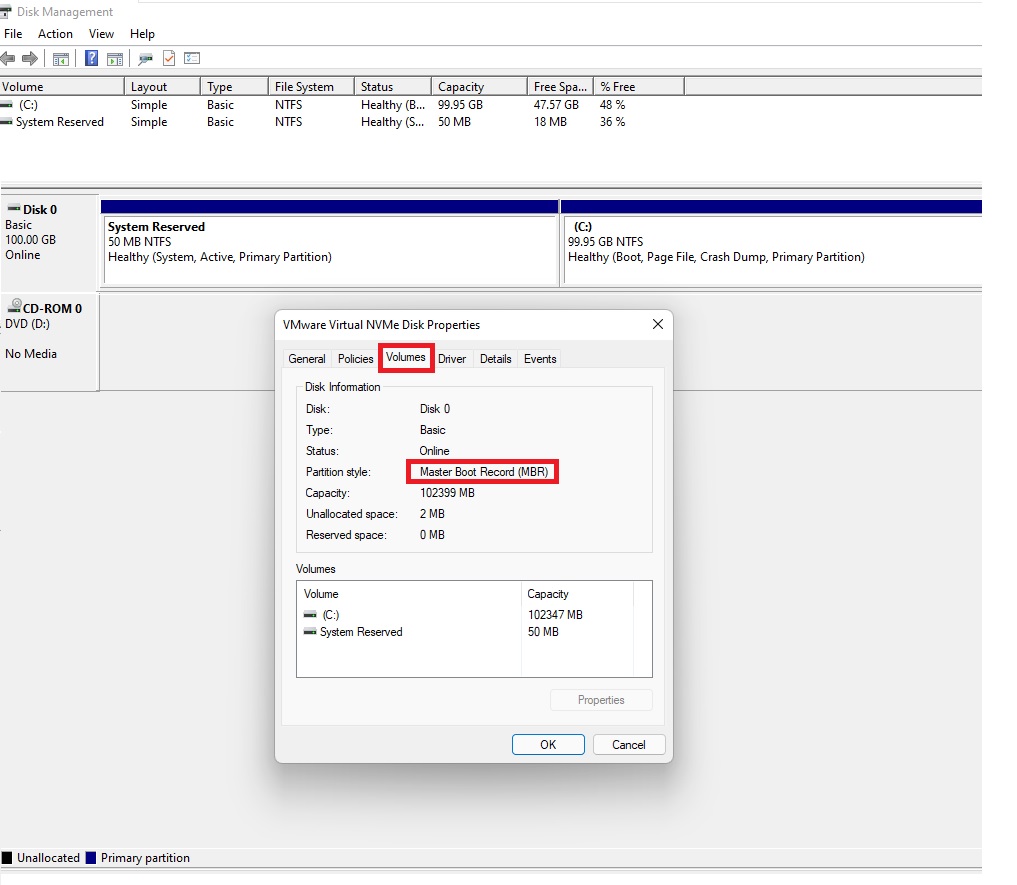
Step 3: There shouldn’t be more then 2 partitions. In simple words, I had only 2 partition – System Reserved and Boot Partition (C:) as seen in above screenshot. If you have another partition, let’s say (D:), I will advice to backup files on D: drive, delete partition D: and expend C: to re-claim free space.
Note: Drive letters might be different on your computers.
Step 4: Create bootable installation USB or use Recovery Disk if you already have. Click here for the procedure to create Windows 10 installation media.
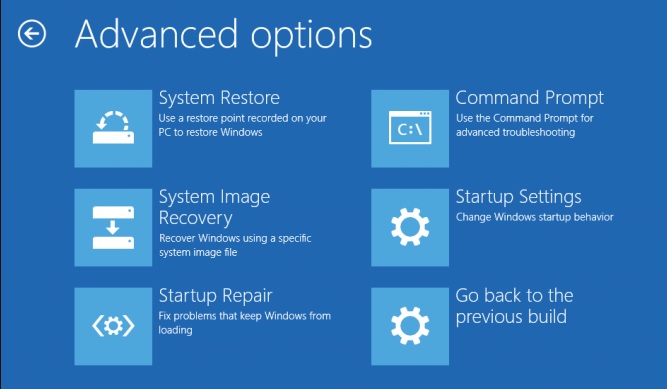
Step 5: Insert bootable USB Disk. Boot, press F2 or DEL on ASUS motherboard. Change boot order and boot from USB installation or recovery media. Click on Repair your computer >> Go to Advance Options >> Click on Command Prompt or simply press Shift + F10 to start command prompt.
Step 6: Once you are in command prompt, type below command:
>DISKPART
DISKPART> list disk
Disk ### Status Size Free Dyn Gpt
——– ————- ——- ——- — —
Disk 0 Online 100 GB 1024 KB

Step 9: If the MBR to GPT conversion is successful then go ahead, restart system, boot into BIOS and change Boot Mode to UEFI.
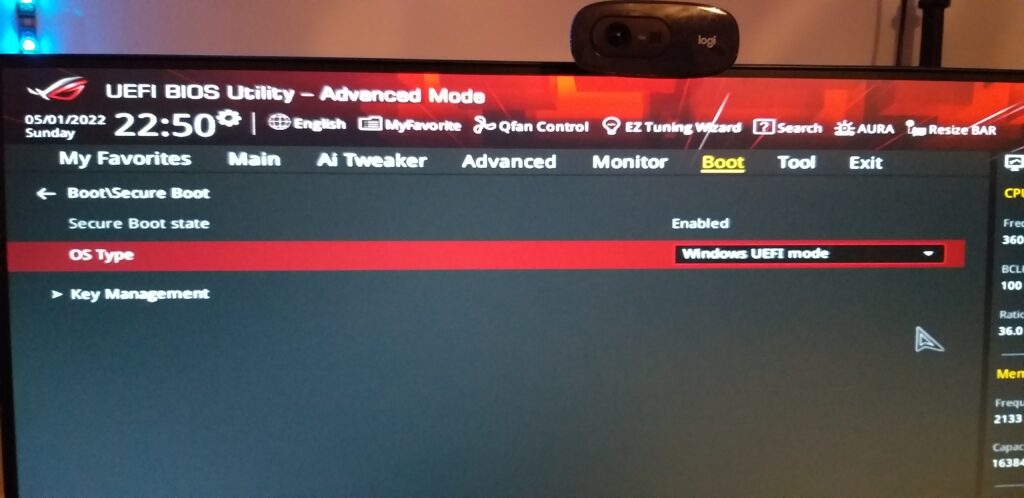
Step 10: Save BIOS settings and restart computer to boot into Windows. Changes should reflect in System Information, as below in screenshot:
Few Important Notes:
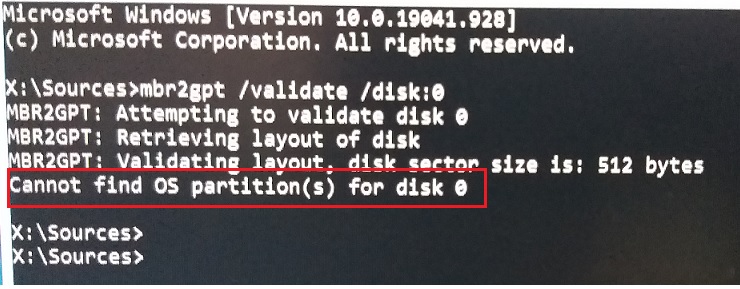
No need to panic, if mb2gpt validation fails during this process with error:
Cannot find OS partition(s) for disk 0
This is most likely if your current Windows 10 was upgraded from Windows 7.
In this case, we will need to remove bad entries from boot configuration. Here is short video for guidance.
Hope this article was helpful and hope your Windows 11 upgrade goes well.
Thank you!

Pingback: Best Gaming PC Ever! - Qwikbitz 360°